Initial Login: To access the member portal for the first time, visit jccnh.clubautomation.com
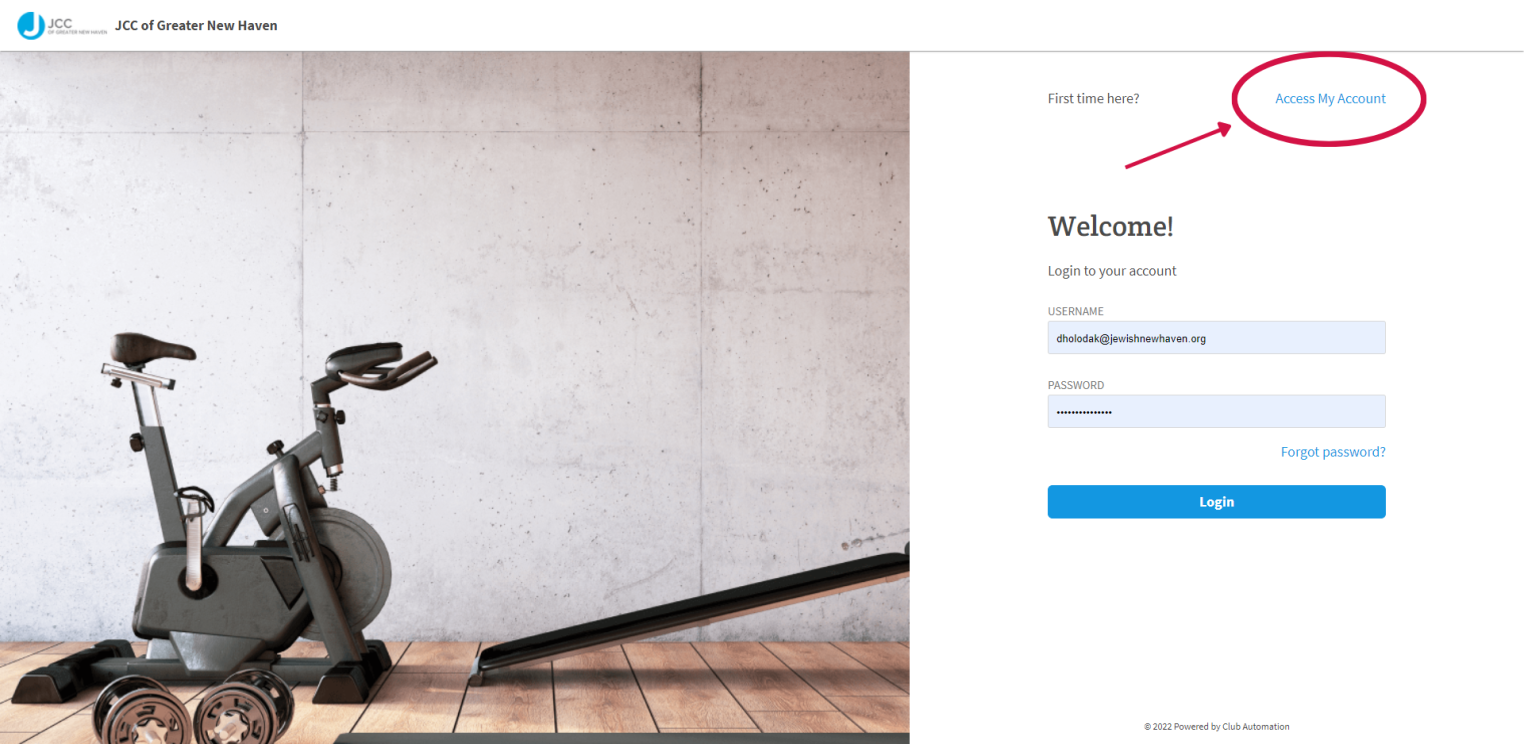
Once on the site, locate the “Access My Account” button listed to the right of “First time here?”.
In the “Register Now” window, enter your first name, last name, and email address that is on file at the JCC. NOTE: This will not work if you use a different email address than the one that we have on file for you. After entering your information, select “Continue” in the bottom right corner.
Once your account is found, a verification email will then be sent to your email address with the final login instructions. Please open your email to access these instructions.
The email you will receive includes a verification link that must be opened to complete the setup process. Complete all required fields on the information page, agree to the standard liability waiver (at the bottom of the page), and select “Save Account”. You will then be directed to the member portal home page!
Standard login: After setting up your account you will need to go back to the initial login page. Enter your “Username” (your email address) and “Password” your created in the “Login to your account” screen.
Questions: If you have any problems accessing your account, select “Forgot your password?” and a new verification link will be sent to your email. If you need to set up a new account or if the email address you provided isn’t recognized by the system, contact the JCC Front Desk at 203-387-2424 for further assistance.